BW TO COLOR


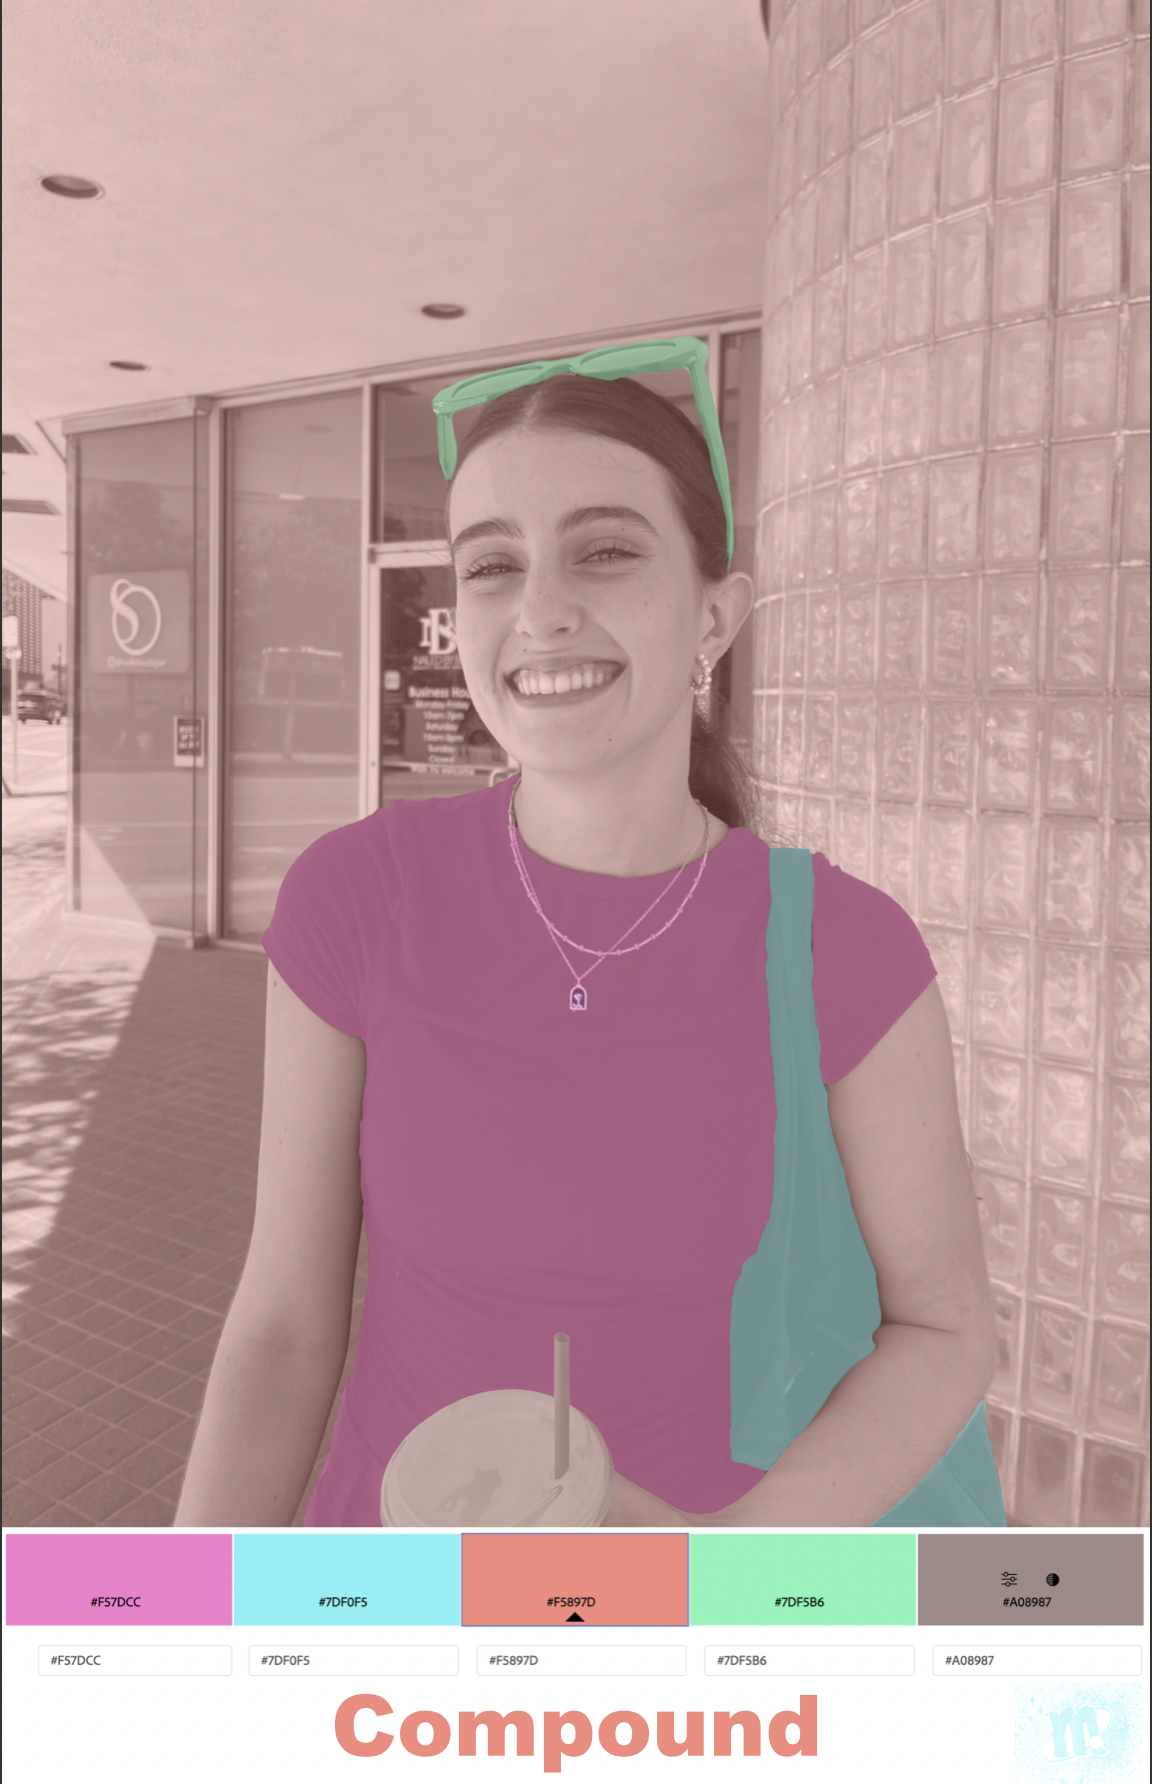


For this project, I used Adobe Photoshop to add color to BW images. First of all, I used Color Adobe to select my colors. I wanted a pinkish color to be the center of attention, so I picked a pink color and on that color wheel I chose to do Analogous, Double Split Complementary, and Compound for my project. First I had to switch the RGB image to Grayscale to make the image black and white. After that, I adjusted the Canvas size, in order to add the white space on the bottom of the picture. I also added the names of the color wheels I chose and my logo tag brush.
I used the Quick Selection Tool in order to select the parts I wanted to color. I used this tool because it was one of the most simple tools in my opinion. Then, I selected the color I wanted for that specific part, and with the background layer selected, I made an adjustment layer. I picked solid color for this layer, in order to add the color I wanted. After I repeated this process for all of the parts of the image, I added one of the colors to the background, by following the same steps above.
I really liked the final result of this project, but I had a really hard time with it at first. In my opinion, Photoshop is more complicated than Illustrator and it took me a while to get the hang of how everything works. However, in the last image I did, it went very smooth and was a lot easier.

Comments
Post a Comment